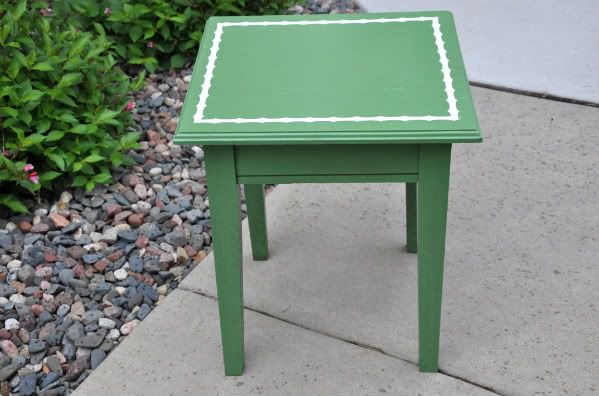
This project has been a long time in the works and I've been super excited about it...even though I didn't know that it would turn out well. I am calling this a "semi" tutorial because not every step was photographed.
I found these two frames at a barn sale last month for $5 each. I thought they were so pretty...but huge...26x38!.

When I found these, I was also trying to find the perfect headboard for our guest room. Do you get where this is going? I had an ephiphany that these might work as a faux headboard in that room. At five bucks each, I had nothing to lose, so I took them home with me.
Patience is not something I am skilled in, so I came up with a plan immediately. I took them upstairs and made sure they would fit. Vertically, they were perfect together for a queen bed! Eeek!
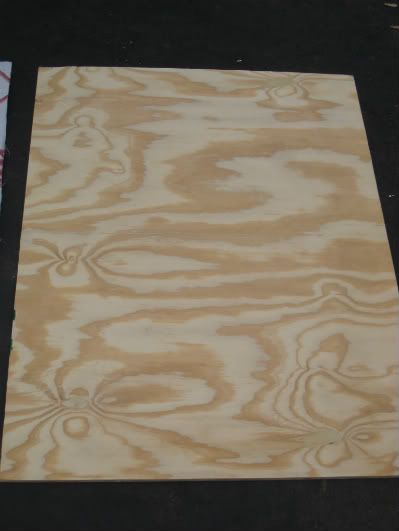
I got out the measuring tape and measured the inside of the frame. I then subtracted 1 inch vertially and horizontally and took my measurement list to Home Depot. I got two of these boards to serve as the backing for the headboard.
Next, I needed to choose fabric. I wanted it to coordinate with the new guest room bedding, but it couldn't be too busy, as the duvet has a lot going on. Here is the bedding...I couldn't figure out how to post the actual picture here...sorry!
http://www1.macys.com/catalog/product/index.ognc?ID=451722&CategoryID=28892#fn=sp%3D1%26spc%3D18I headed to Hancock Fabrics. My first stop is always the remnant bin and che-che check it out...the fabric of my dreams! *choir singing*
Next, I layed the boards on the underside of the fabric and traced with a yellow marker. I'm high-tech like that ;). I cut the fabric to fit the board and to adhere, used Elmer's spray glue
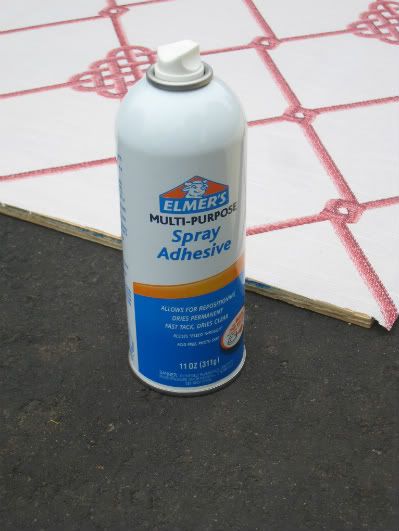
Once the glue was dry, I loaded my boards and frames into the car and went to see if my father-in-law would help with the next step since I'm not proficient with a drill.
Using Gorilla Glue and small screws, we attached the fabric covered boards to the frames. Forgive me...I have a picture of Gorilla Glue, but not of the boards being attached to the frames.
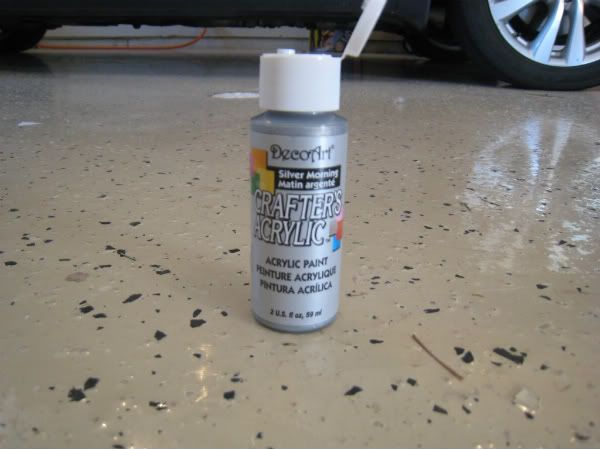
Once that was done, I decided the frames needed a little love. They were not as polished as I wanted to them to look. So I bought some DecoArt acrylic paint in Silver Morning
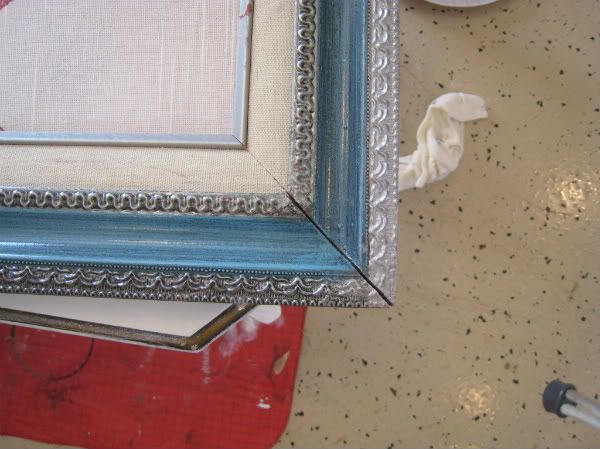
I should have touched up the silver before putting the fabric on, but I'll know better next time. Using a stencil brush, I lightly painted the silver part of the frame and then wiped it off, using it as a glaze. In this picture, you can see the before and after painting with silver.
Once that was dry, they were ready to hang! And here is the final product...
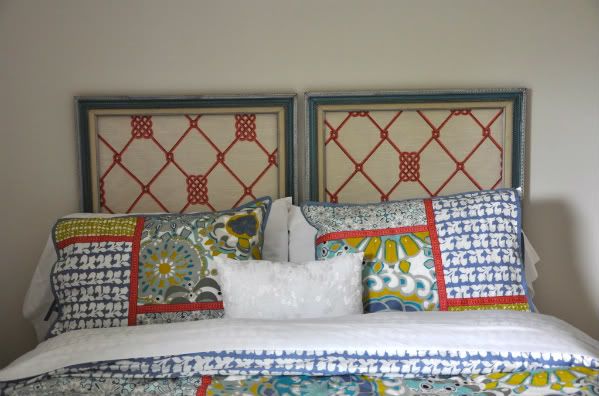
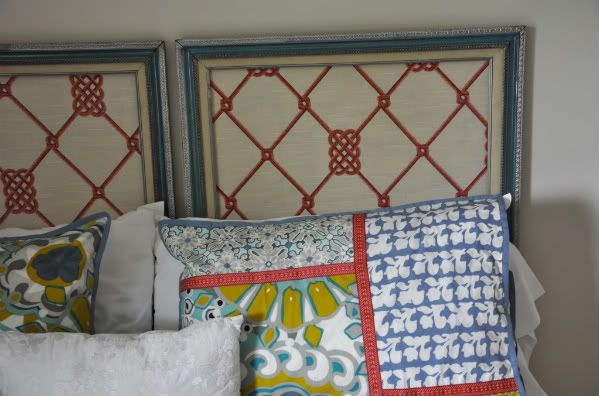
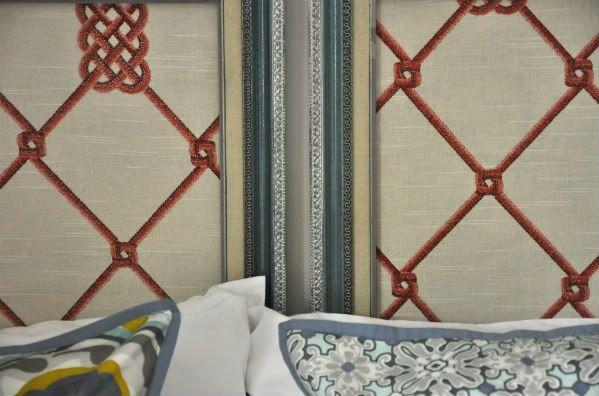
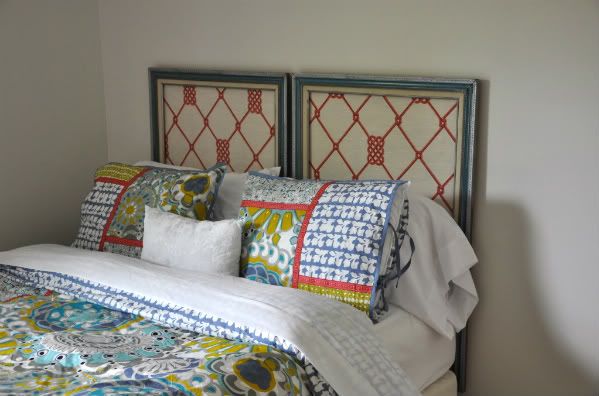
It's not perfect, but overall, I'm pretty happy with it! I would love to know if you think it coordinates with the bedding or if it's just too busy?
If you want to do a similar project, here is a list of things you'll need:
1-2 large frames (depending on the size of your bed)
wood cut to fit the frames
fabric of your choice
spray adhesion product
screws and a drill
Gorilla glue
paint and a paint brush (optional)
proper hardware to hang the faux headboard
Would love to see other versions of this!
~Allison

These parties rock!


SAS @ Just A Girl





http://thriftydecorchick.blogspot.com/


